On this page you will find all the basic information about the tools you need to paint your own KeyCravings keycap.
At the end you will find a few tipps about painting your first keycap.
Paints
Paints
For paints you'd want to go with classic paints for miniatures. They are thin acrylic paints with fine pigments that work well for painting small detailed pieces. There are many different manufacturers out there that differ in color range, paint formula/medium and pigments.
Vallejo - the Allrounder
"Model Color" Set 01: Folkestone Basics
"Model Color" Set Basic Colors U.S.A. Colors
Vallejo has a massive range of colors, is easy to work with and thus great for anyone new to painting who rather wants to focus on learning how to get the paint on the keycap than spending time mixing their own colors.
16 Color Sets (35 - 40€)
"Game Color" Intro Set"Model Color" Set 01: Folkestone Basics
"Model Color" Set Basic Colors U.S.A. Colors
8 Color Set (around 18€)
"Model Color" Set 03: Wargames BasicsYou can buy just the colors you need from one of their three main ranges:
Model Color, Game Color & Mecha Color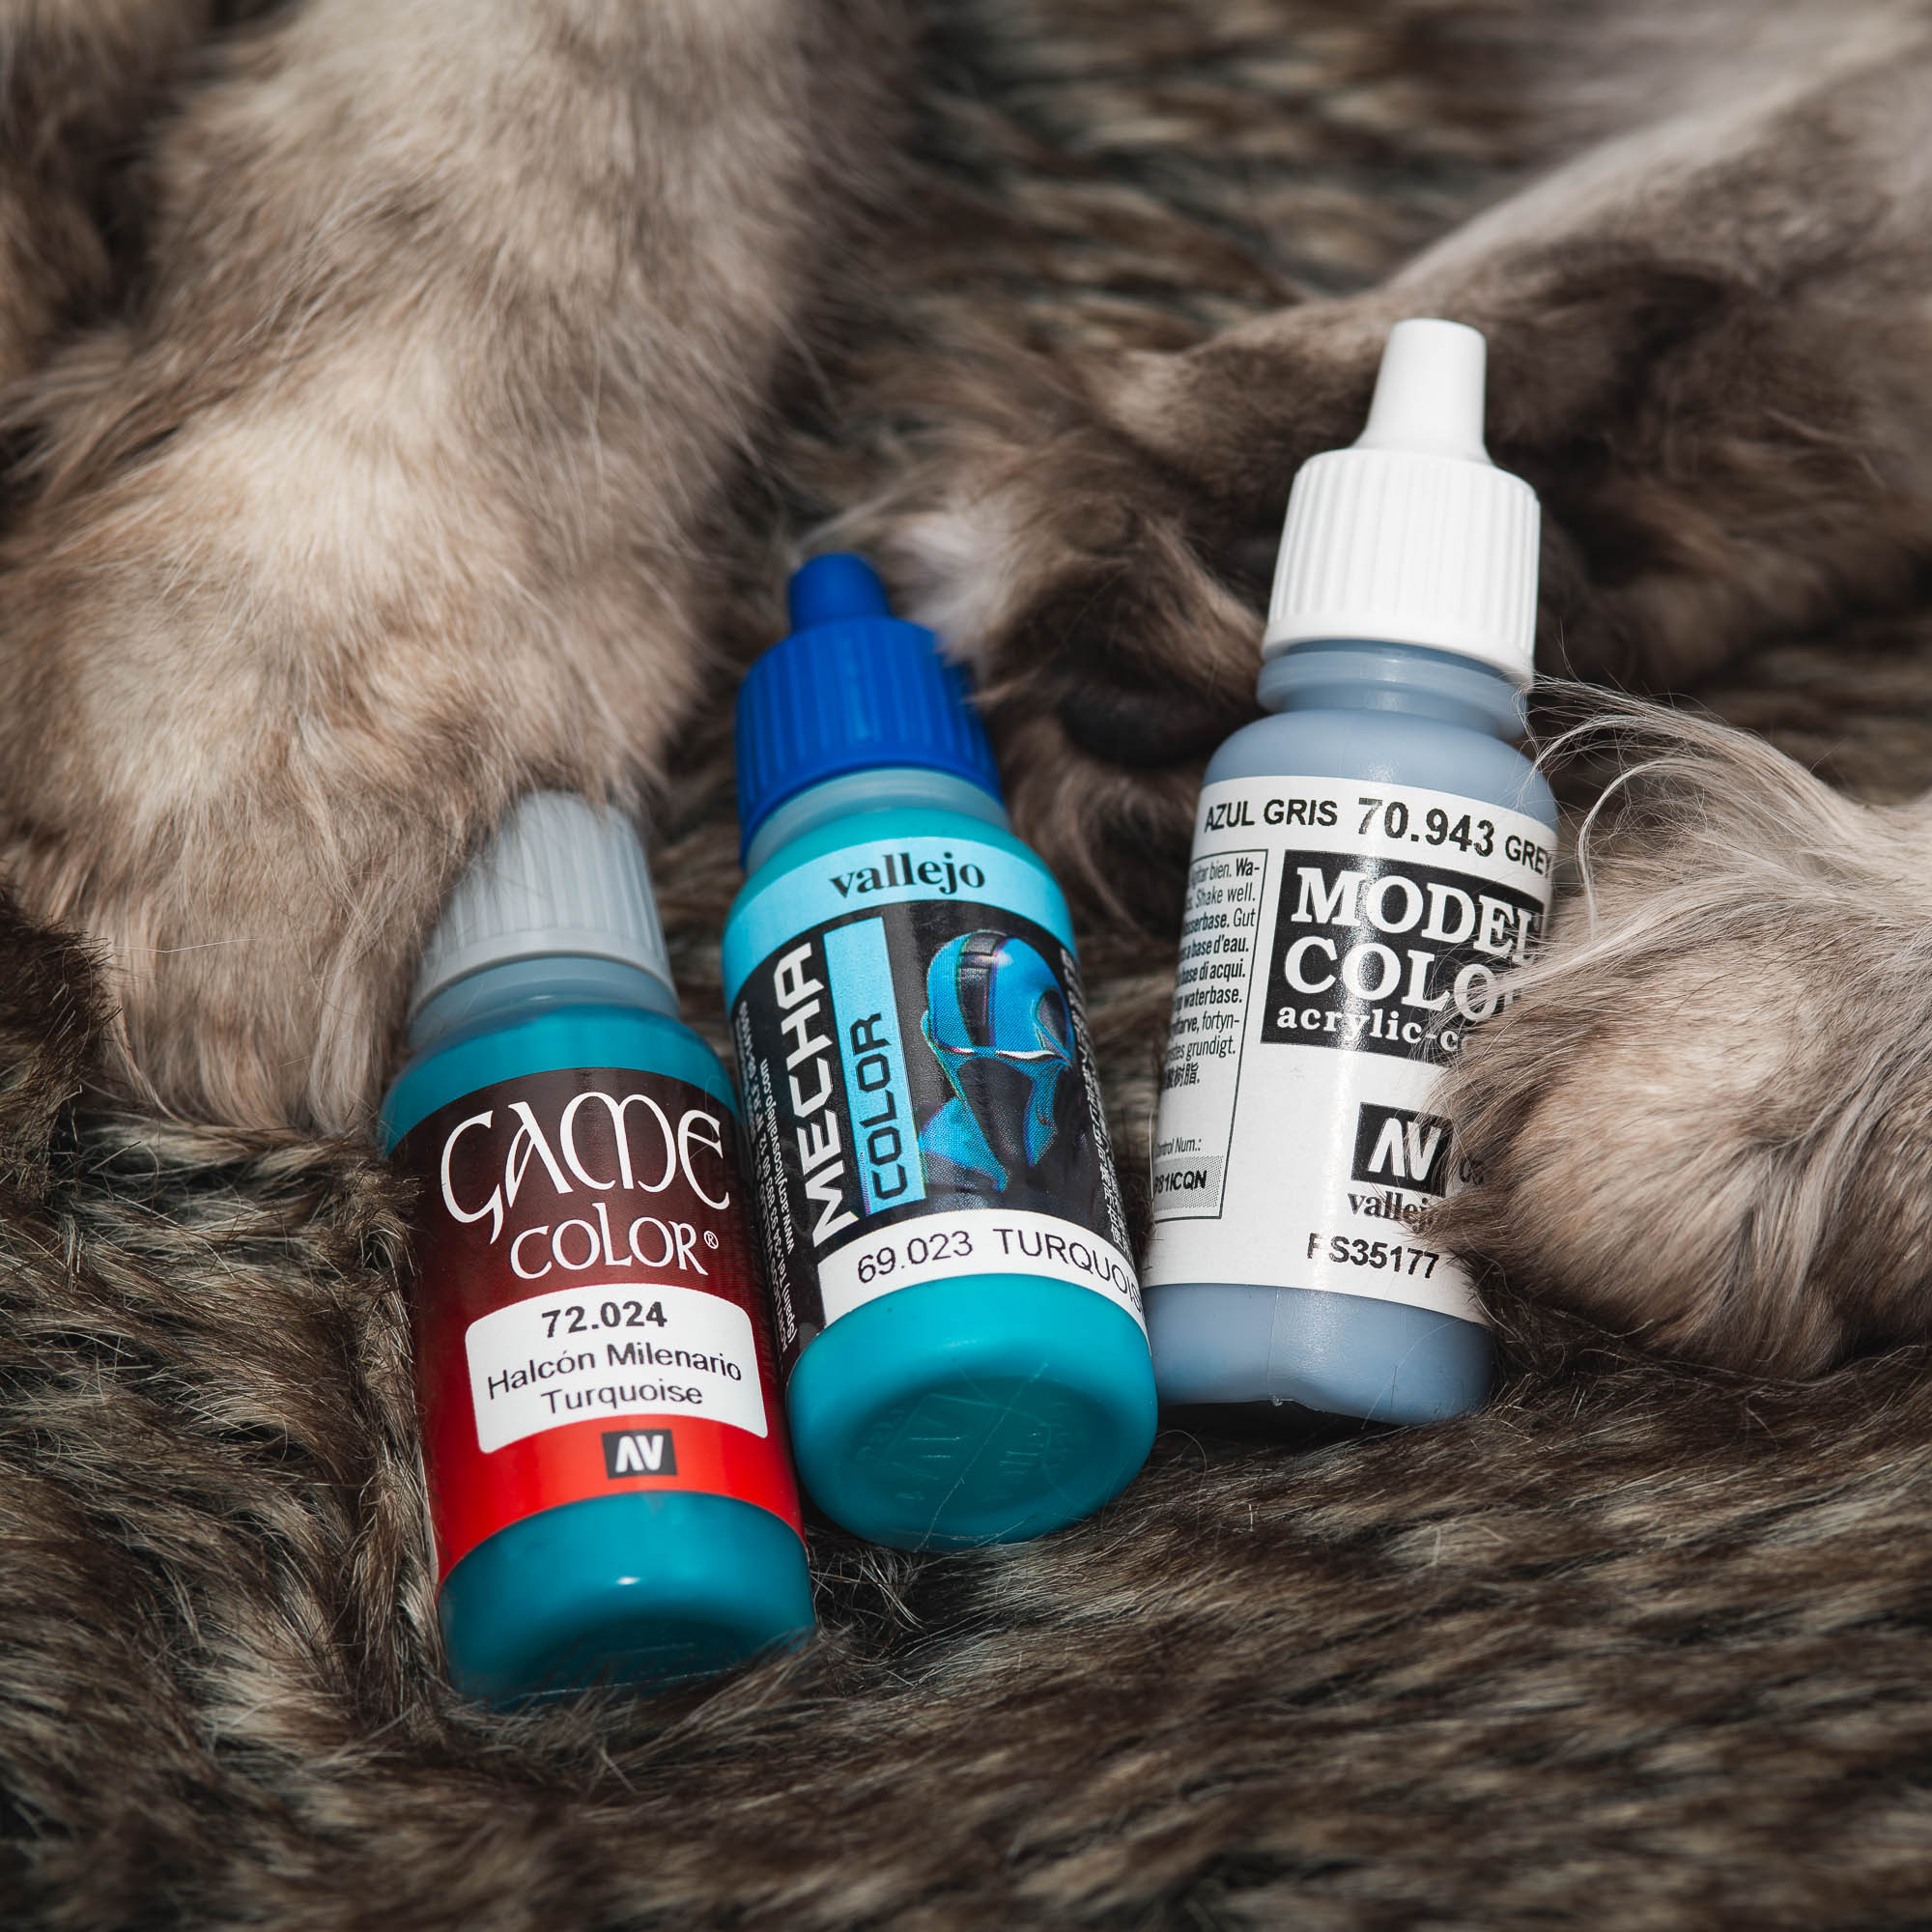
Kimera Kolors
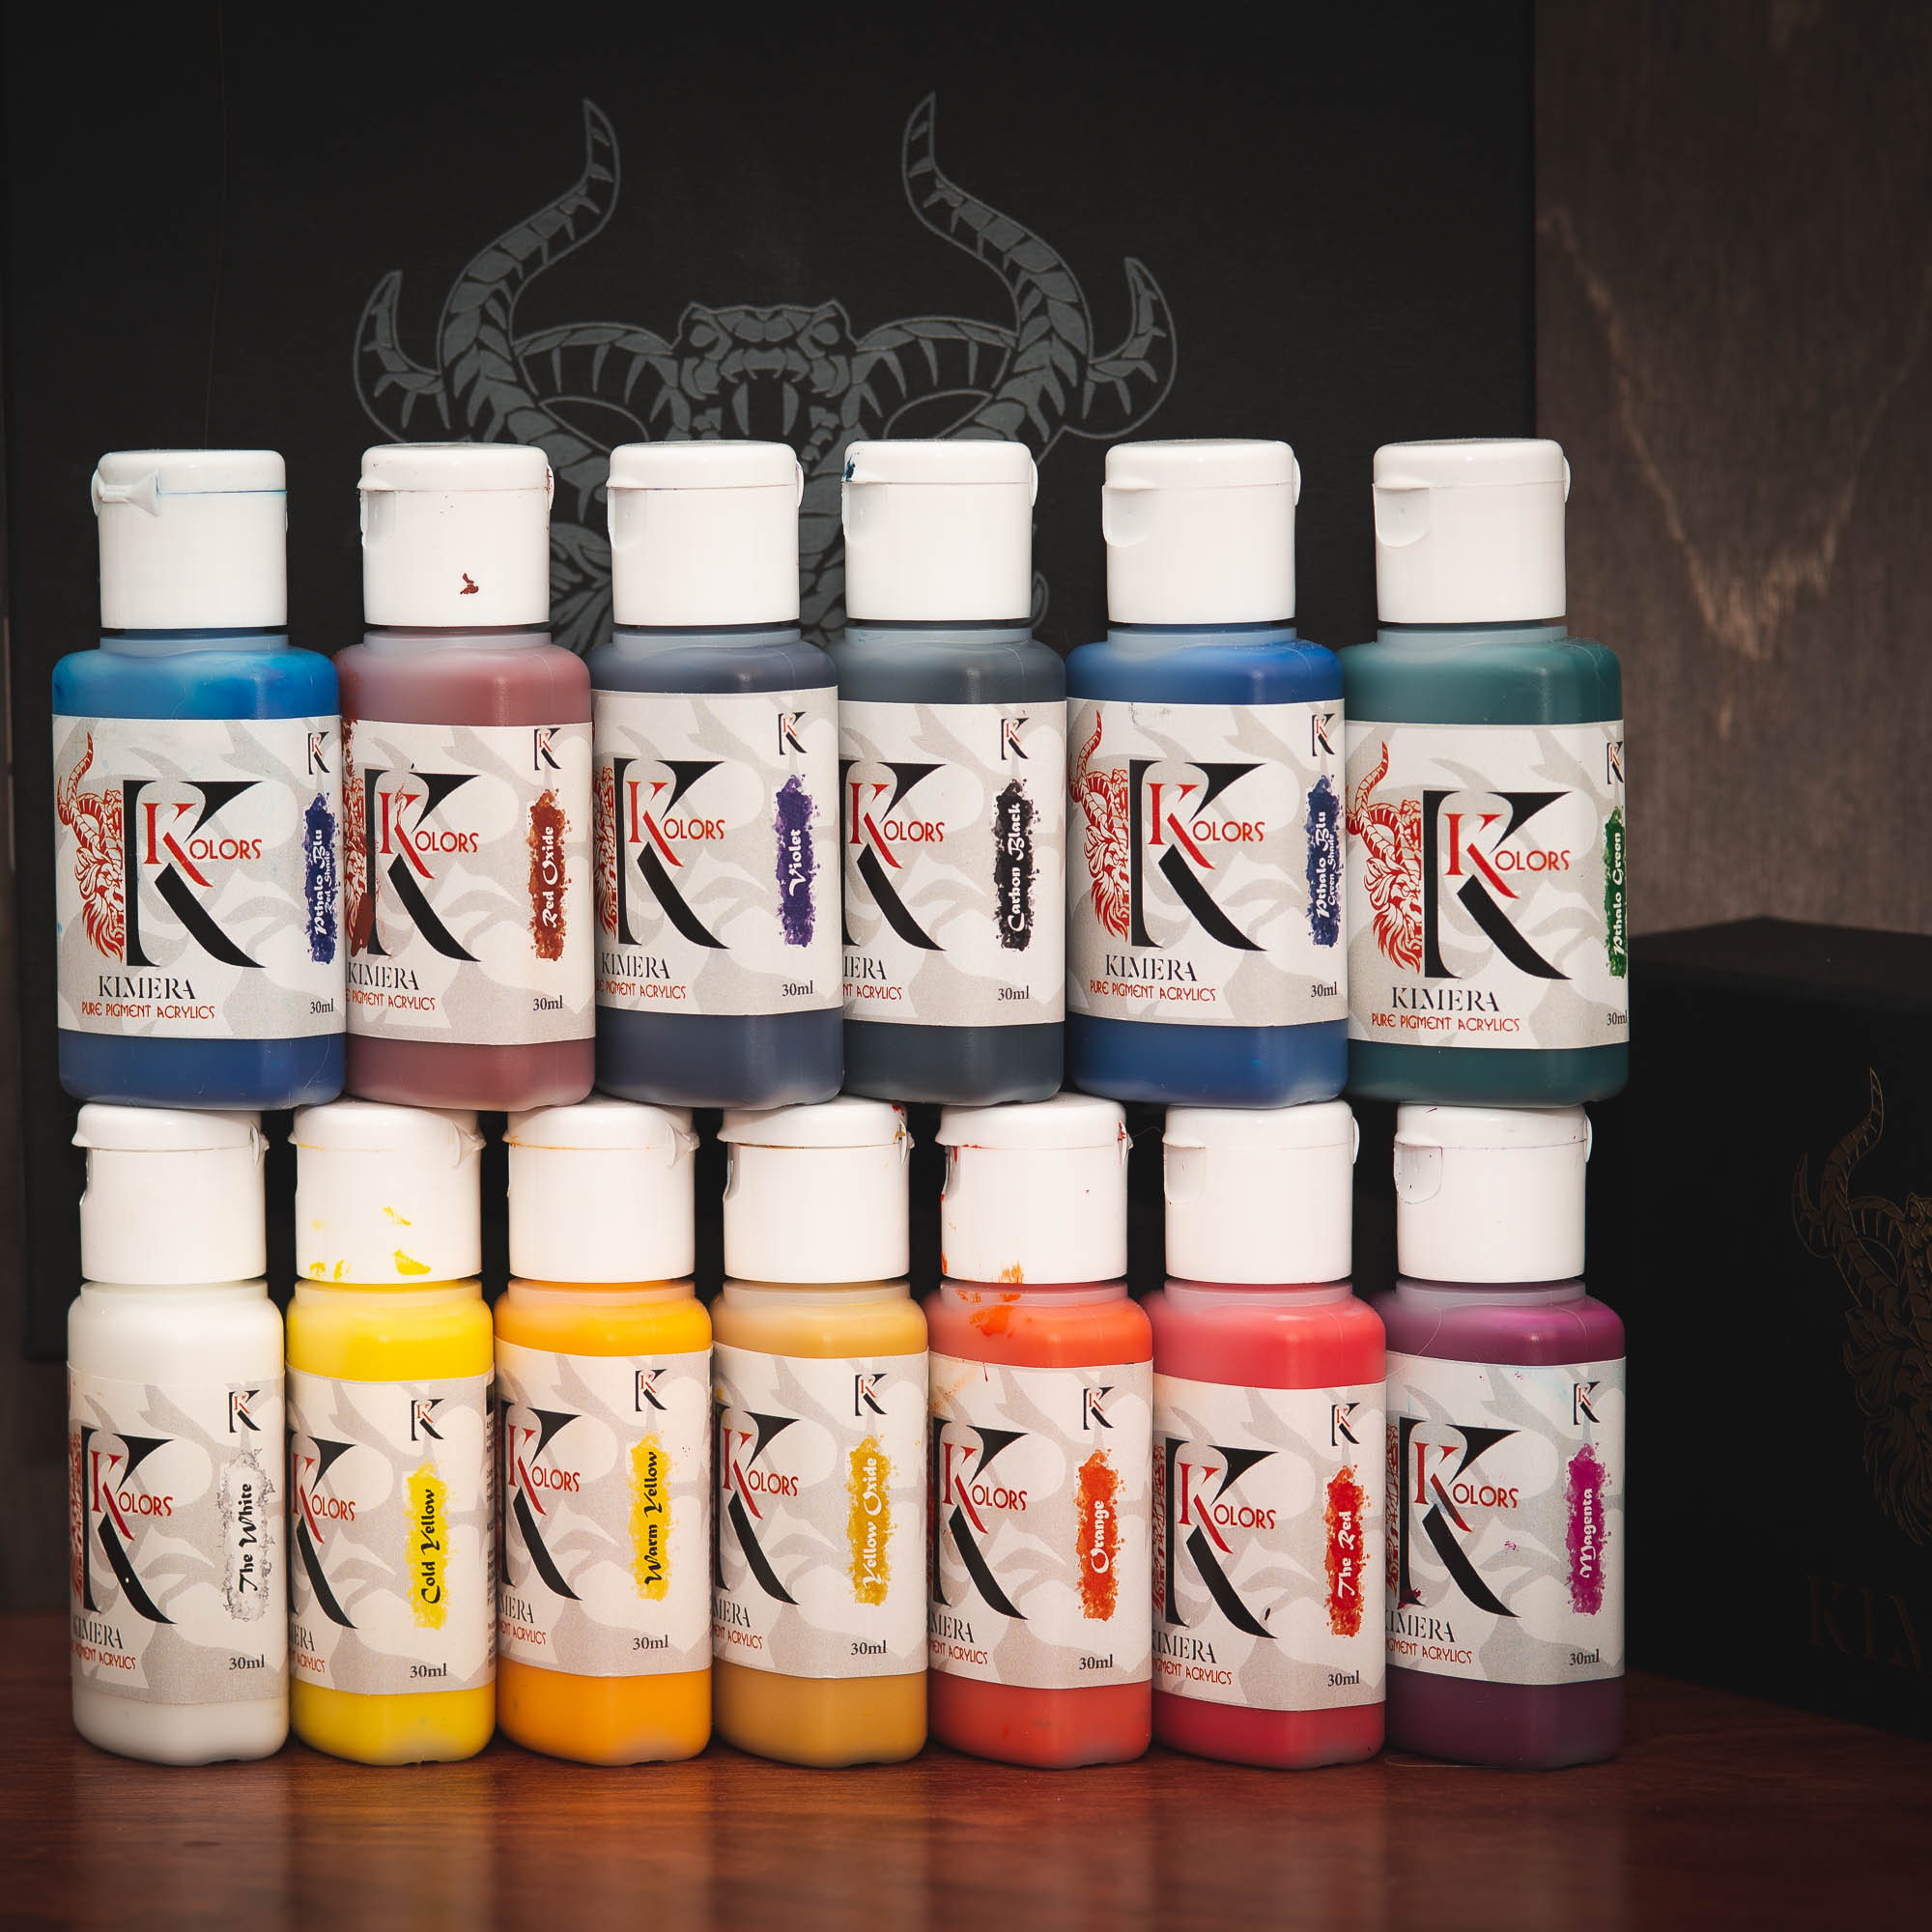
If you enjoy mixing colors the perfect set is this one:
"KIMERA KOLORS pure pigment acrylics set" (around 70€)
They have a high pigment concentration, ranging from 30% to 50% and a creamy consistence.
Since their paints are single pigment - meaning only one pigment per color - they will give you vibrant results when mixing and blending colors together.
This set will enable you to mix every color you want.
Scale75
All of the Scale75 paints have a very high pigment density and work great for blending.
In addition to that they have a quite good color range.
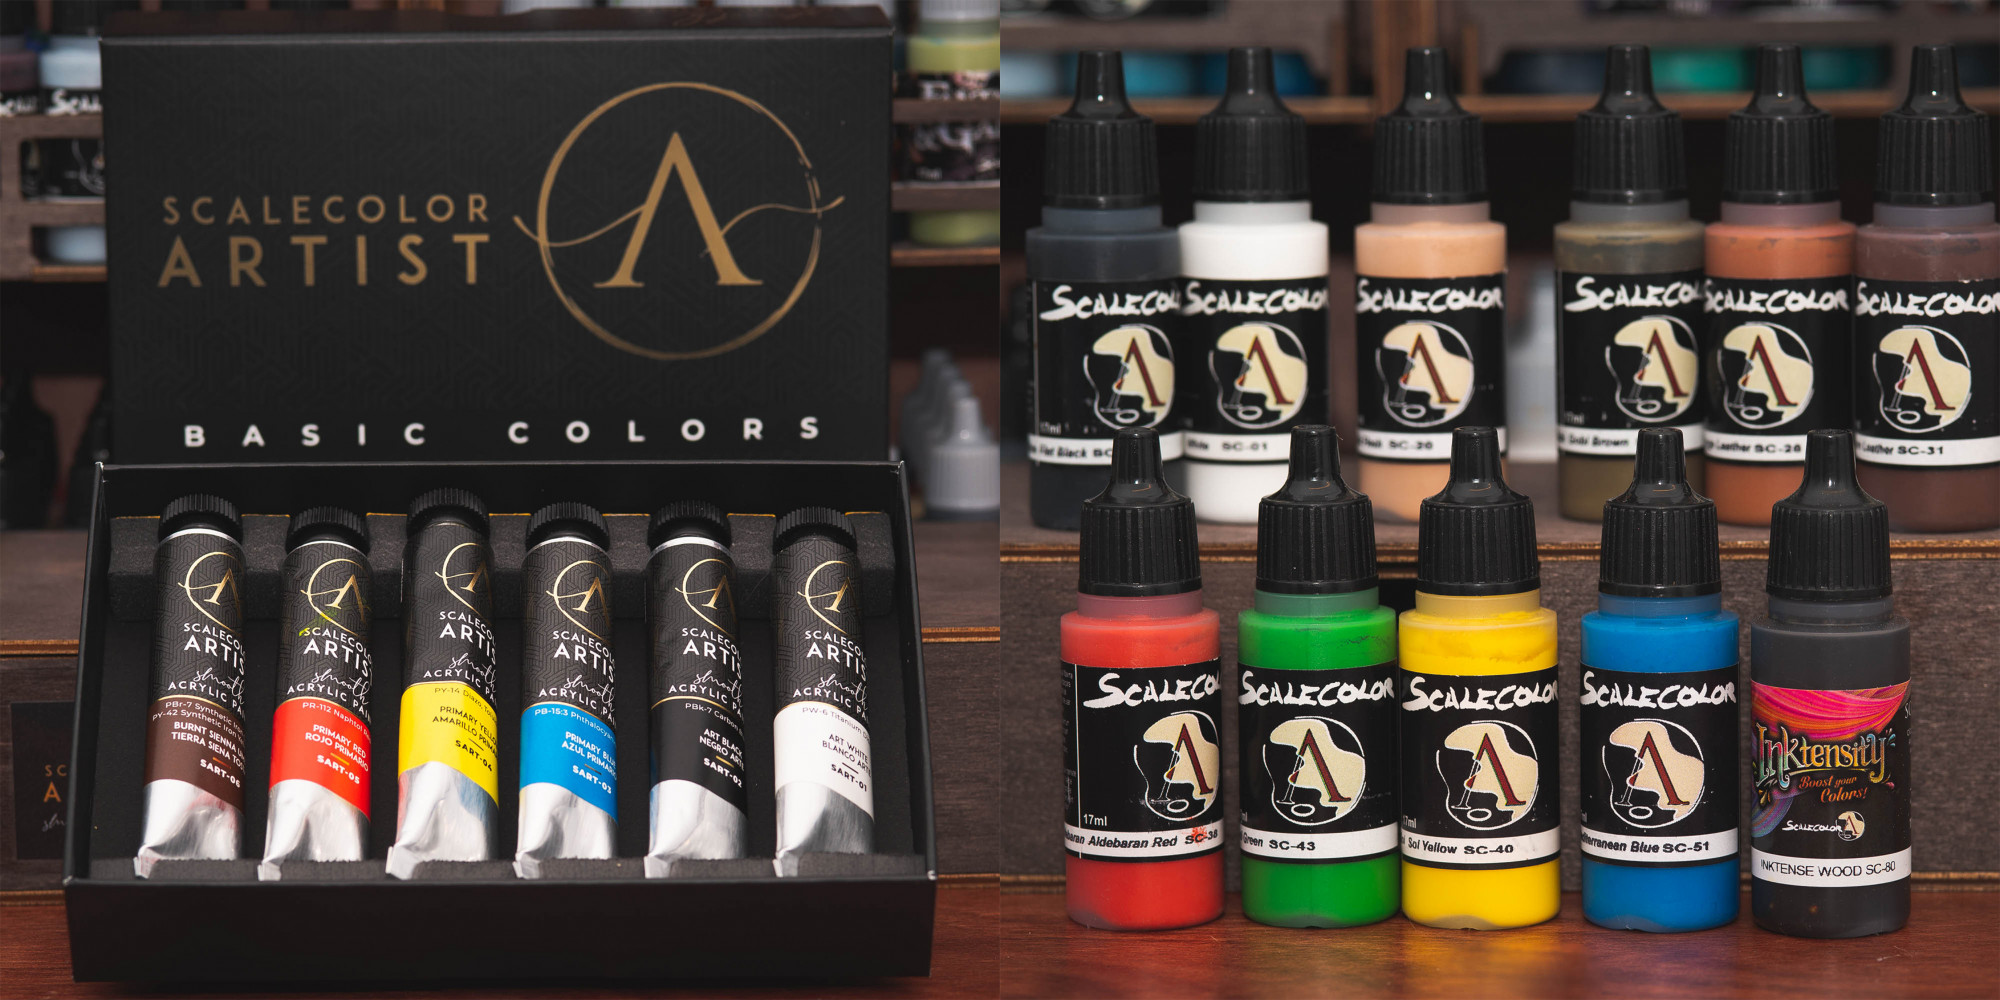
Especially their "Scalecolor Artist" range is a good choice if you want to work with a lot of mixing or if you come from classic painting and are used to tube acrylic paints. However they need a little practice to get the right paint consistency but when you get it right they are a dream to work with (and my personal favorite).
Our most used paint ranges are:
Scalecolor Fantasy & Games
Scalecolor Artist
Some good starter sets are:
The Smog Riders Starter Set (around 45€)Color Theory Banshee (around 61€)
Scalecolor Artist: Basic Colors (around 21€)
Metallic Paints
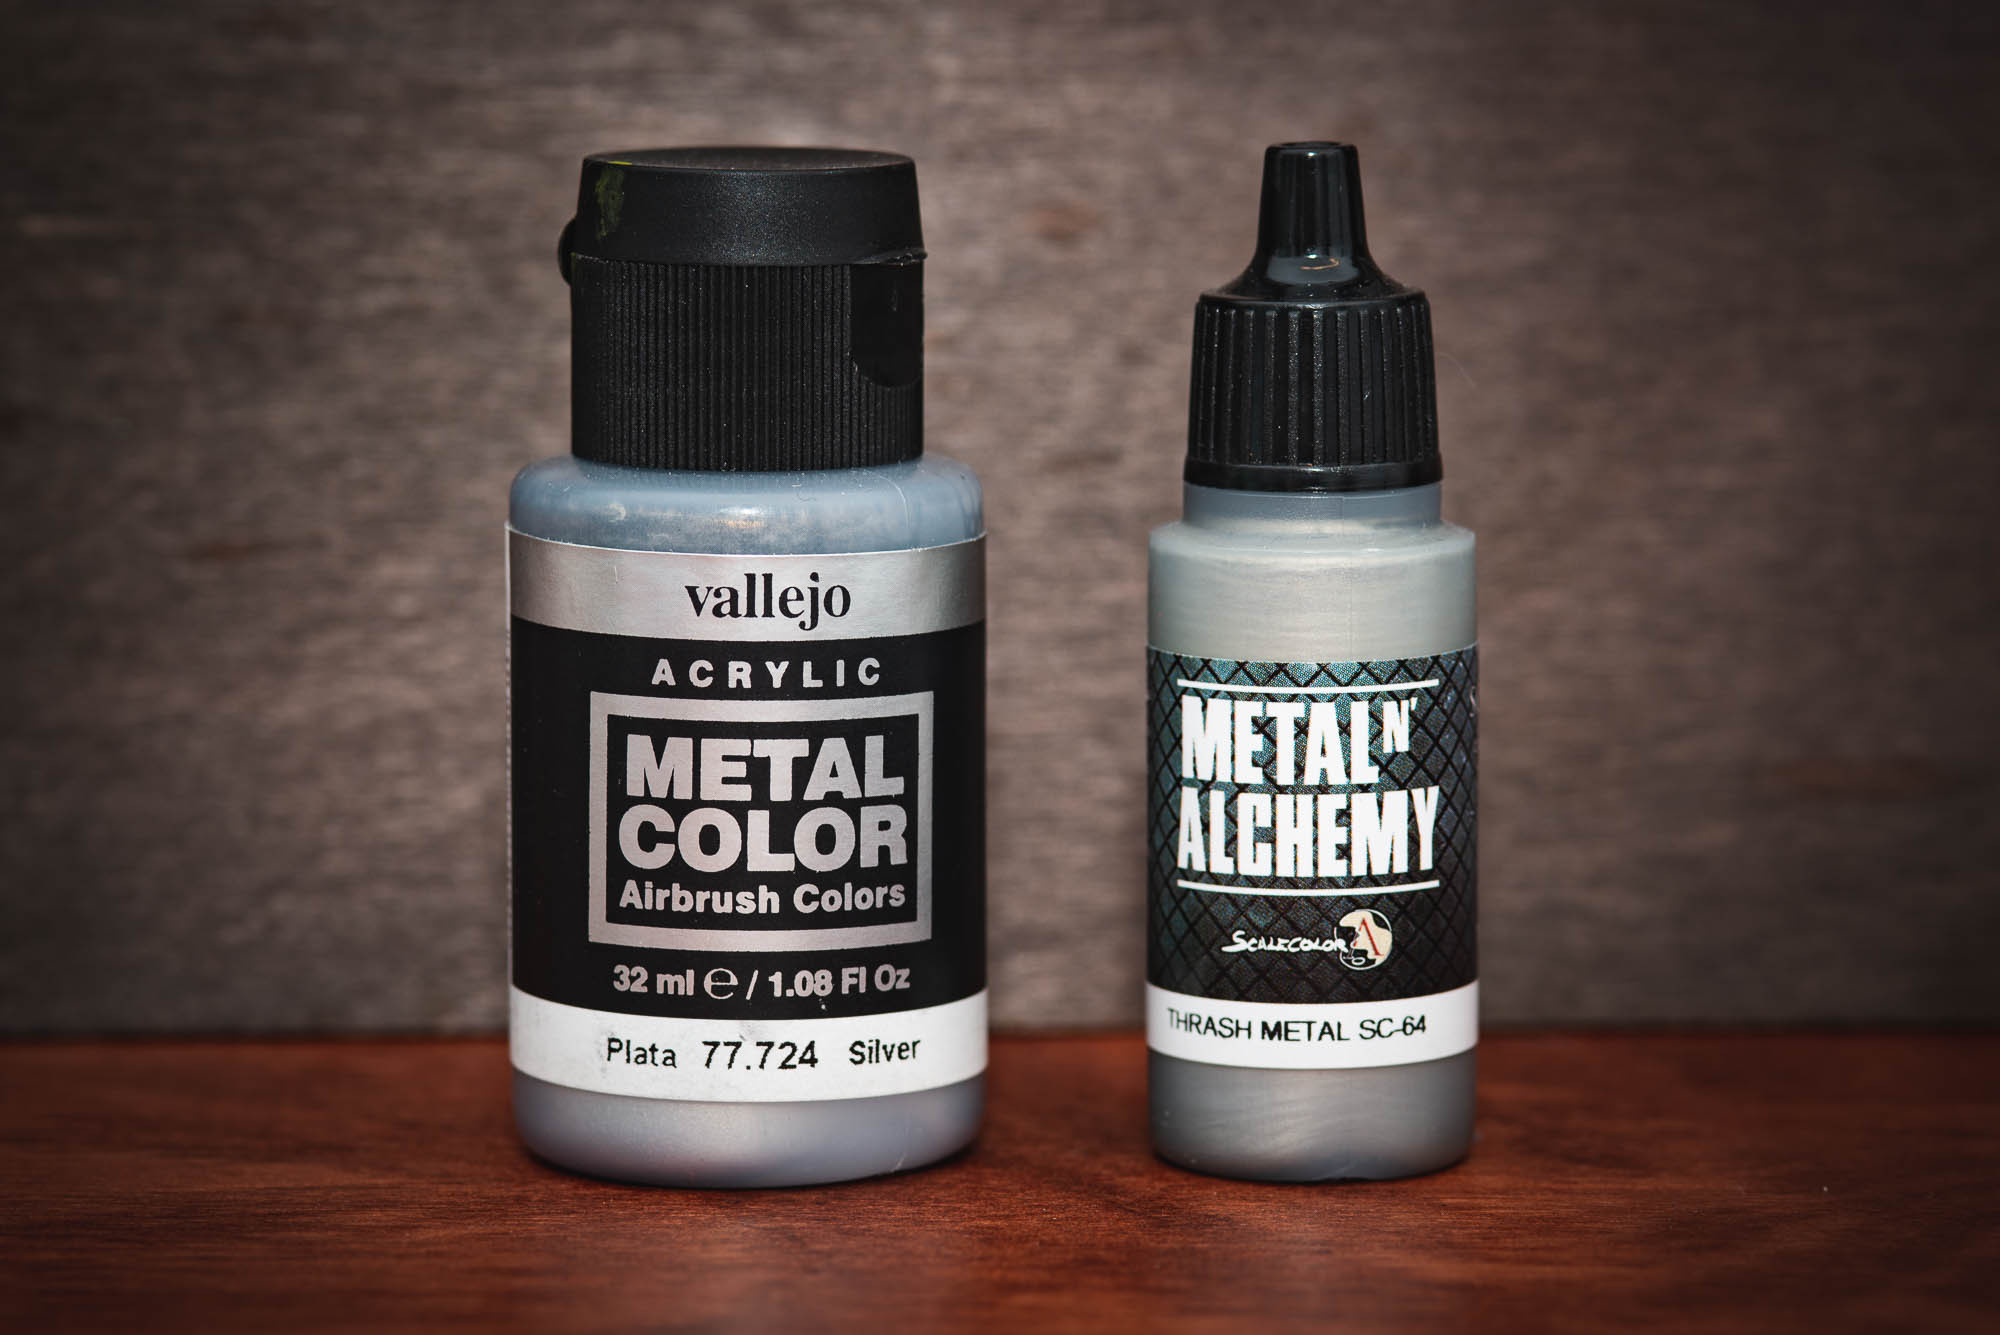
Good options for metallics are:
Vallejo: Metal Color Scale75: Metal n Alchemy
Keep in mind that metallics tend to have bad coverage. To get the best result make sure to paint them over a good base.
A general rule to go by is:
Silver (aka cold metallics) over blackGold/Copper (aka warm metallics) over brown
Brushes
Brushes
For brushes you can get small brushes for Acrylic or Aquarell painting. A cheap option are synthetic brushes. They don't hold a sharp tip for that long but are a good starting point (especially for beginners) or option for less detailed work.
Synthetic brushes (some stores also offer sets) (1€ - 3€ per brush):
Da Vinci Nova Synthetic BrushesDa Vinci Junior Synthetic Brushes
these are only two examples - pretty much every cheap round synthetic brush that has a decent tip will be fine.
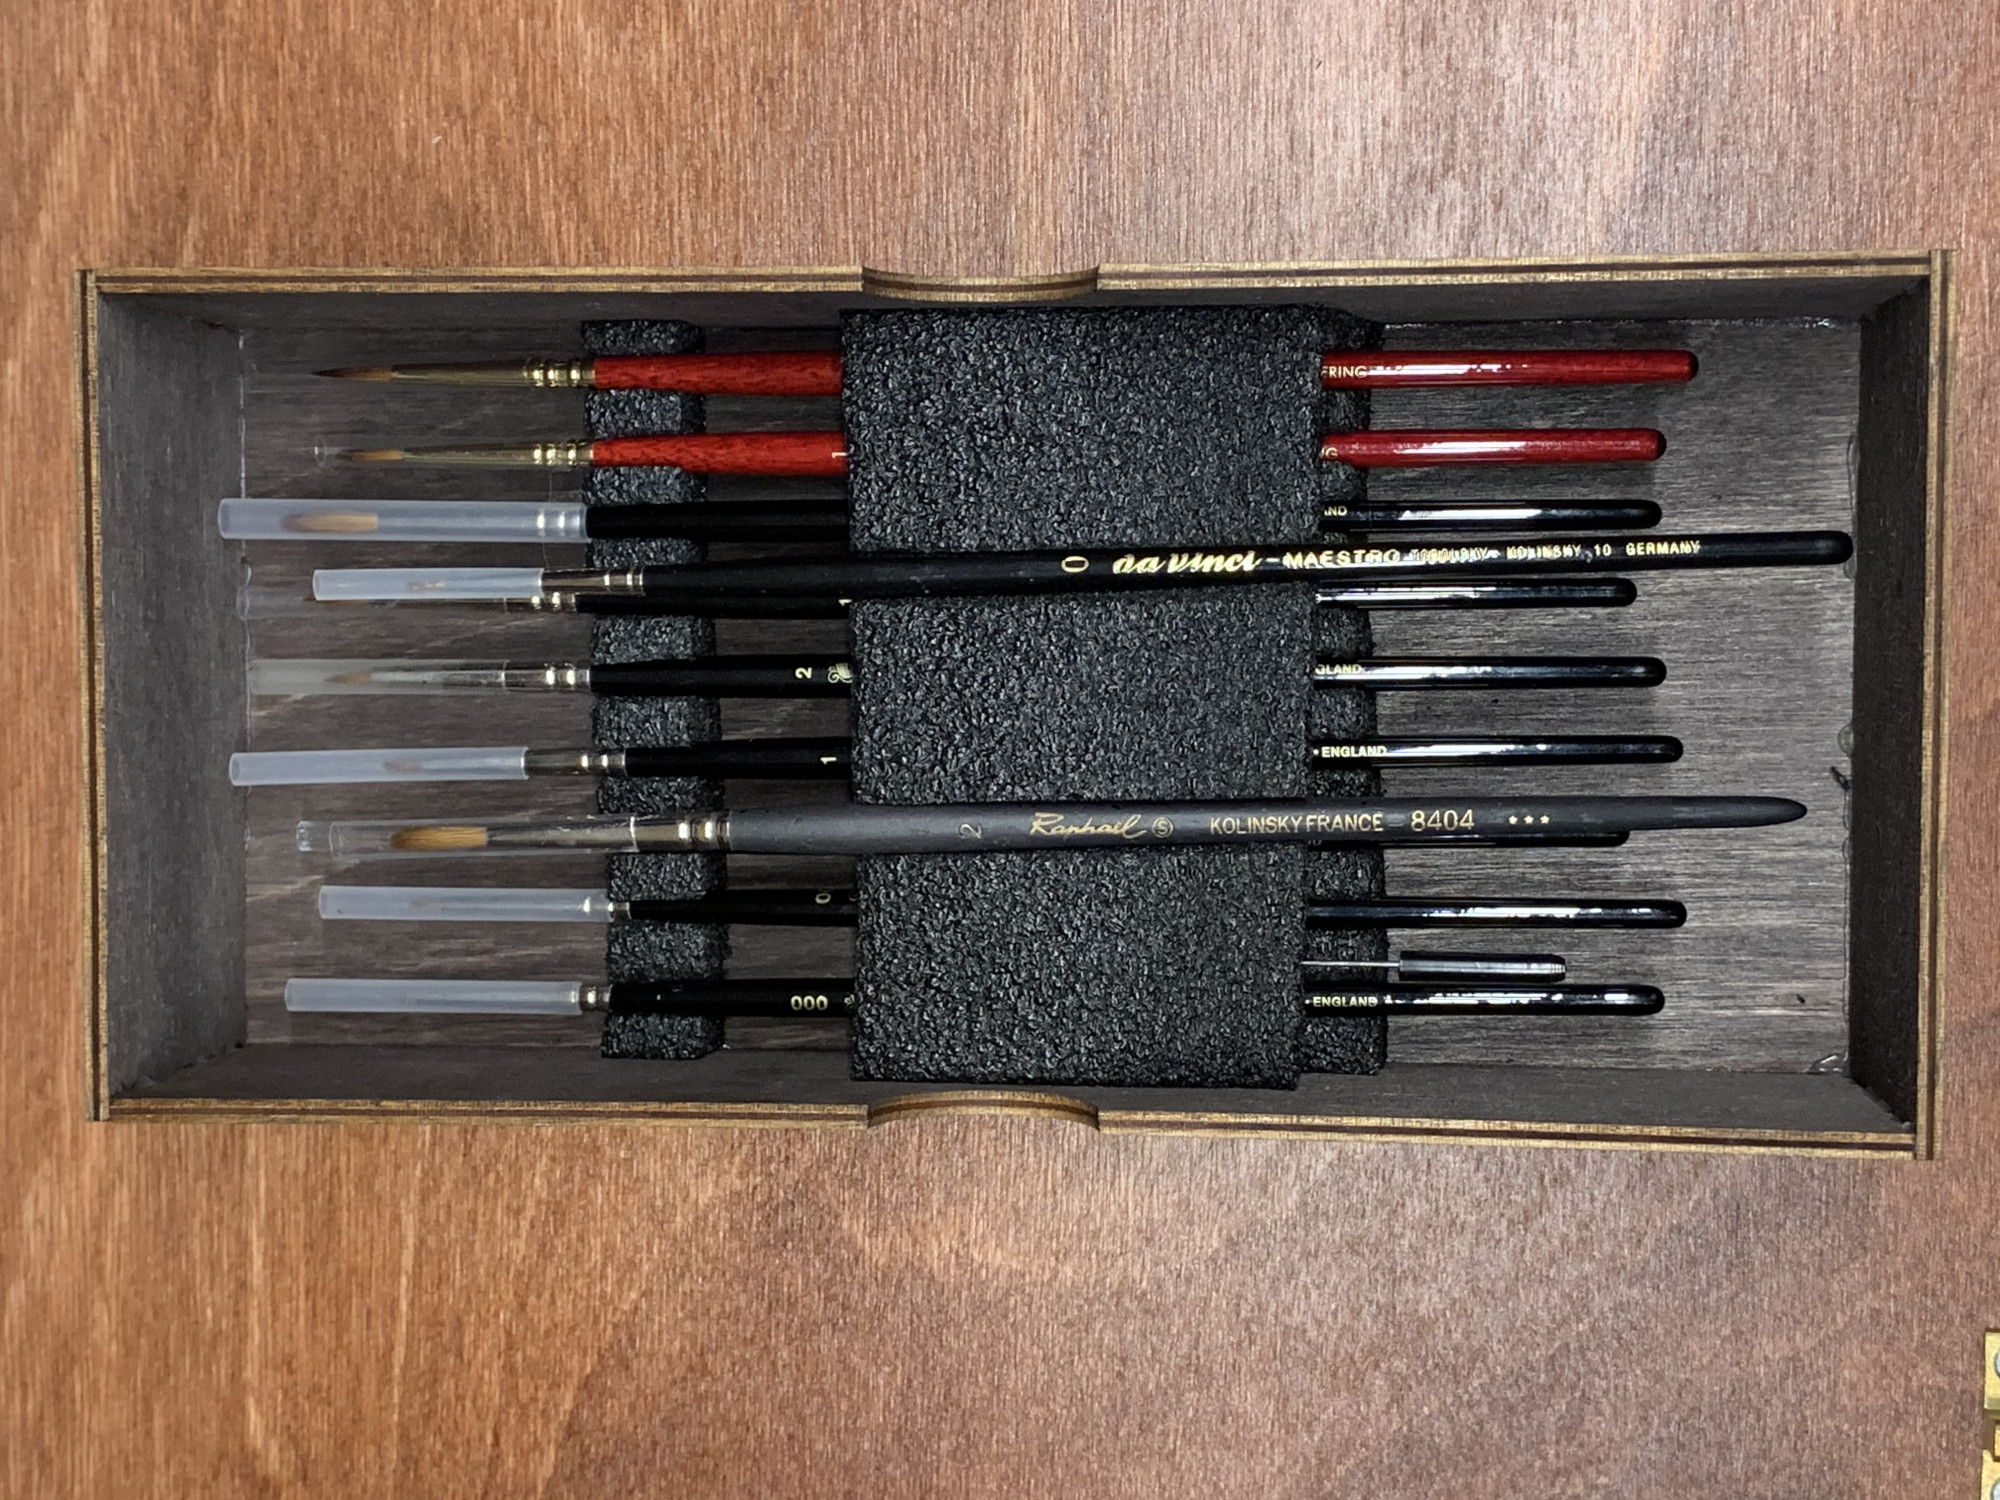
The fancier option are kolinsky brushes. They are made from natural hairs and due to that more expensive and more delicate but they hold their tip better than synthetics.
Some options are (10 - 15€ per brush):
Winsor & Newton Series 7 Raphael Series 8404
Da Vinci Maestro
in general the best sizes to get are 00, 0, 1 and 2
If you go for the "fancy" brush option you'd also want to get a brush soap to clean the brushes so they lasts as long as possible. (Synthetics will benefit from it too)
DaVinci Brush SoapThe Masters Brush Cleaner and Preserver
Optional but useful tools
Optional but useful tools
Varnish
satin-matte
gloss
depending on how you want your keycap to look. The glossier the finish, the more vibrant the colors will tend to look but it will also cause reflections that distract from your paint job and the sculpt. For that reason we recommend going for a satin-matte or matte varnish.
Liquitex Satin Varnish Spray
If you want to use your keycap and make sure the paint doesn't rub of you'll need to varnish it.
A spray on varnish out of a rattle can is the easiest option for that.
You can choose between different finishes like
mattesatin-matte
gloss
depending on how you want your keycap to look. The glossier the finish, the more vibrant the colors will tend to look but it will also cause reflections that distract from your paint job and the sculpt. For that reason we recommend going for a satin-matte or matte varnish.
You can use any varnish for acrylic paints or miniatures. We recommend:
Liquitex Matte Varnish SprayLiquitex Satin Varnish Spray

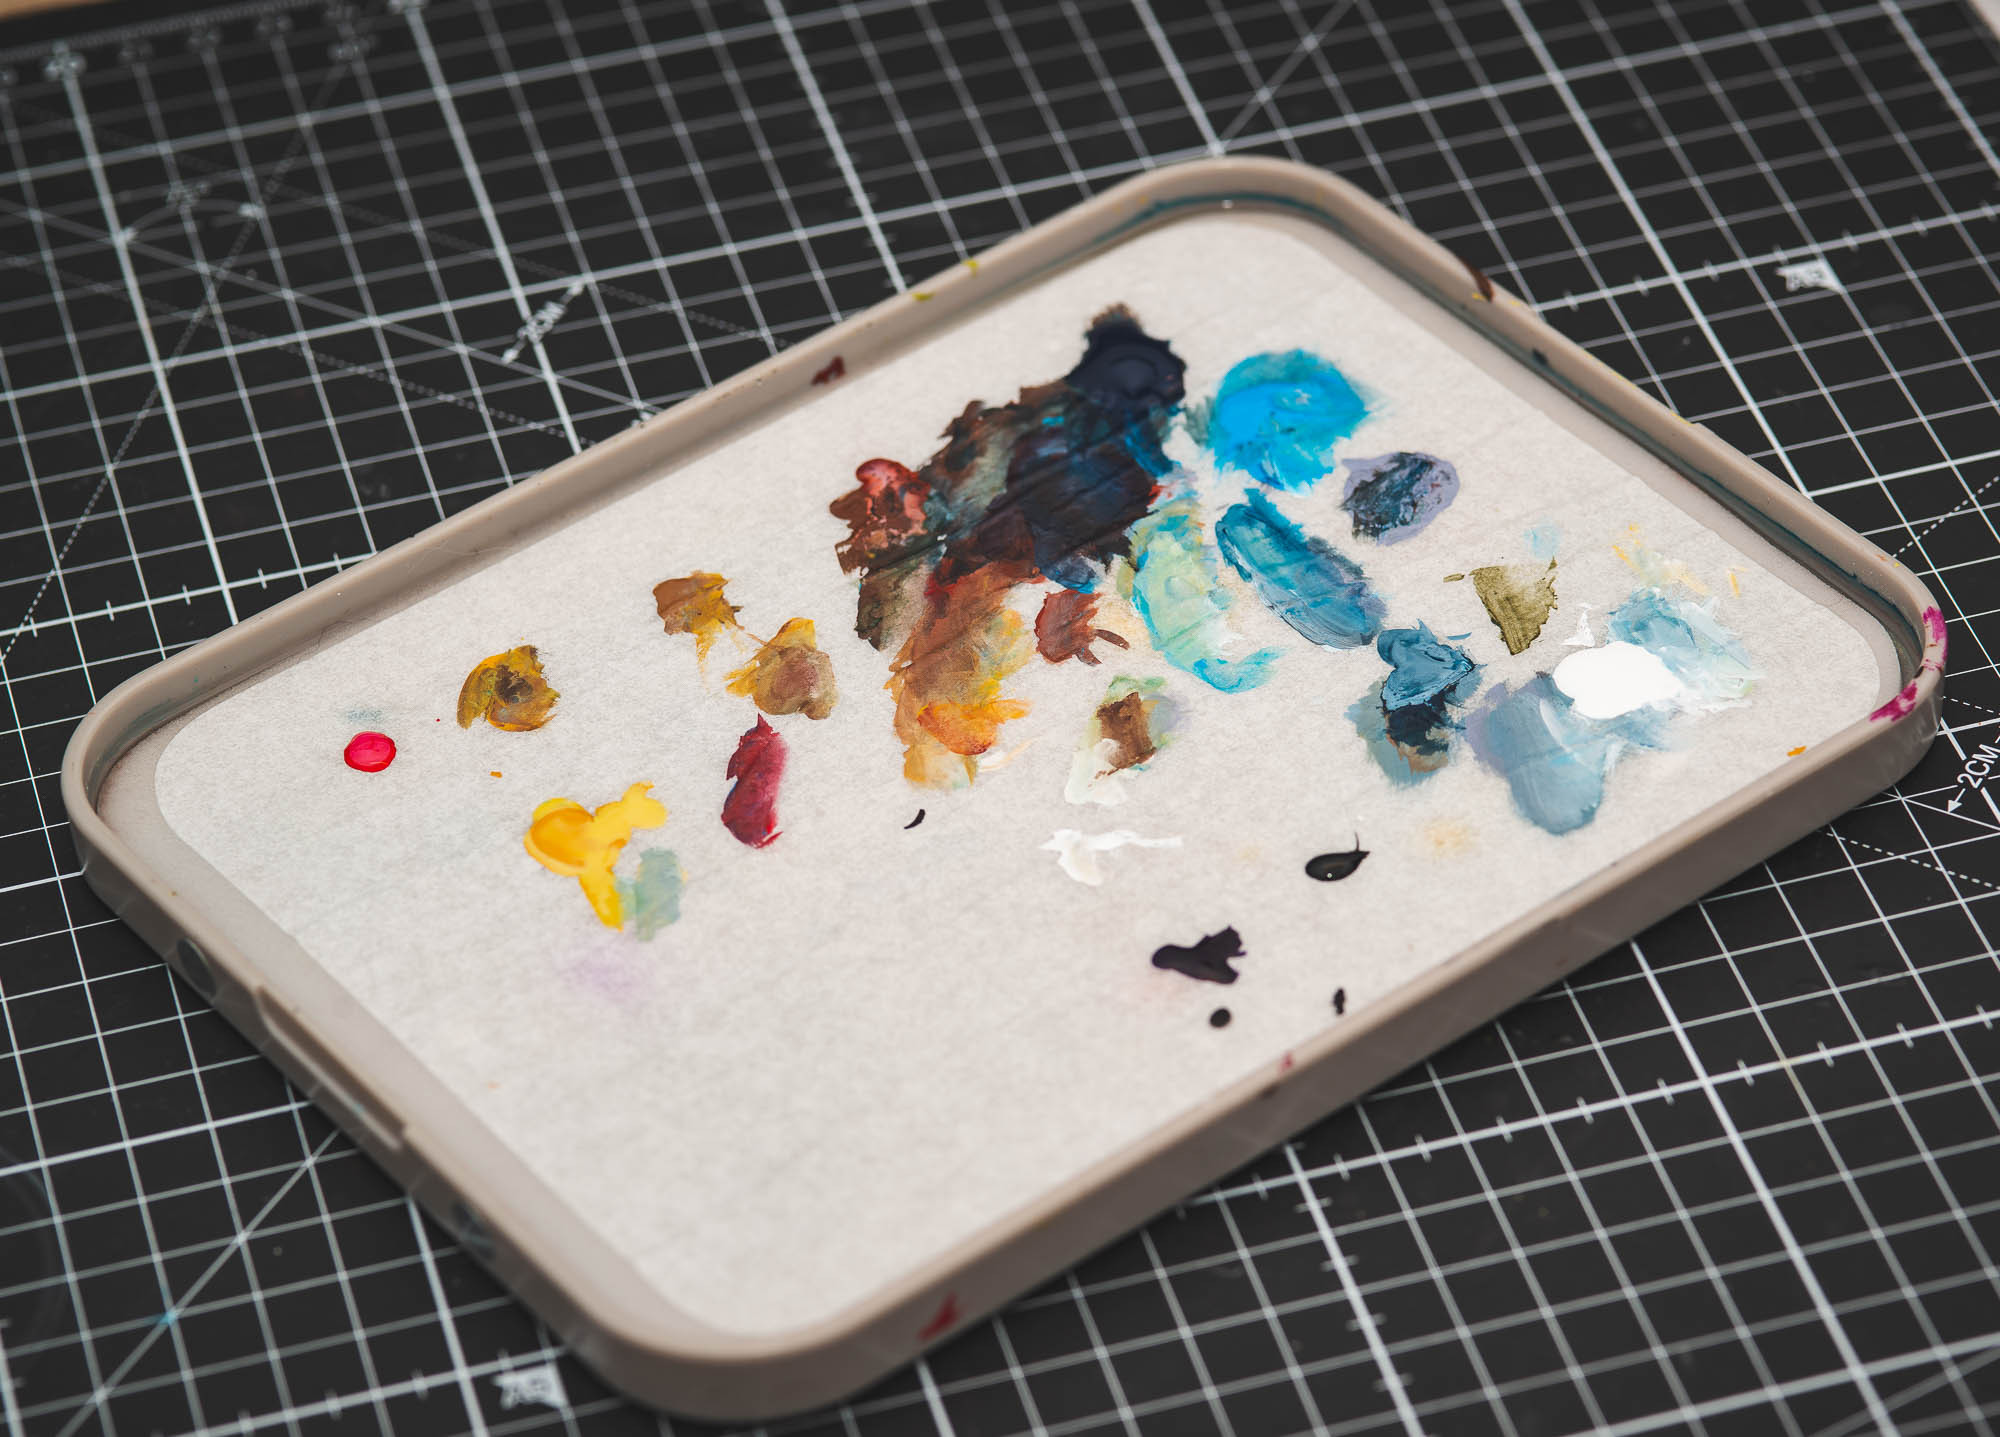
Wet palette
a kitchen sponge cloth or paper towels (as the water reservoir)
white parchment paper (on top of the sponge to put your paint on)
Since acrylics dry very fast and you are working with small amounts a usual "dry palette" will result in a lot of dry paint and can make the painting process more difficult.
To keep paints wet and also to make thinning them easier, a wet palette is a great tool.
You can either build your own by using:
a flat container a kitchen sponge cloth or paper towels (as the water reservoir)
white parchment paper (on top of the sponge to put your paint on)
or you can buy one for around 12€
Masterson Sta-Wet-Palette
Tipps for painting your keycap
Tipps for painting your keycap
Don't be afraid to start
AK Interactive: Fine Resin Primer Spray
when priming make sure to always prime in a sweeping motion across the cap. You want to press down on the rattle can (not pointing at the cap), sweep past the cap, release the spray. Slowly building up the primer.
Shake your paints
Painting a keycap for the first time without any prior knowledge can be daunting. As long as you keep your layers thin you can just paint over them. If all else fails you can throw the cap in IPA for some time to strip the paint and primer off. So there is no way of failing. All you need to do after that is re-prime your cap.
For that you can use primers like:
Citadel Model PrimerAK Interactive: Fine Resin Primer Spray
when priming make sure to always prime in a sweeping motion across the cap. You want to press down on the rattle can (not pointing at the cap), sweep past the cap, release the spray. Slowly building up the primer.
Shake your paints
Paints (unless you went for tubes) will separate. Before using them make sure to shake them very well. It can be helpful to add 2-3 stainless steel or glass paint agitators to the bottle to make shaking up the paint easier.
Thin your paintsPaints right out of the dropper bottle are too thick. If you apply them straight to the keycap they will not only build up texture with brushstrokes but also obscure the details of the cap. You need to add just a touch of water. A good way to do this is using a damp to wet brush and add a little water at a time.
Two thin layers instead of one thick layerUse thin layers to build up color. It might take a little longer but thick layers will mess up the details and will give you an uneven finish.
Acrylics are transparentAcrylics are naturally transparent. Depending on the pigments used some colors are more transparent than others. The yellow pigments used in miniature paints for example always result in quite transparent paints. White on the other hand is fairly opaque.
Don't expect your paint to cover in one layer. An opaque base coat needs about 2-3 layers. The first layers will look uneven. That's okay - just let them dry and add another thin layer.